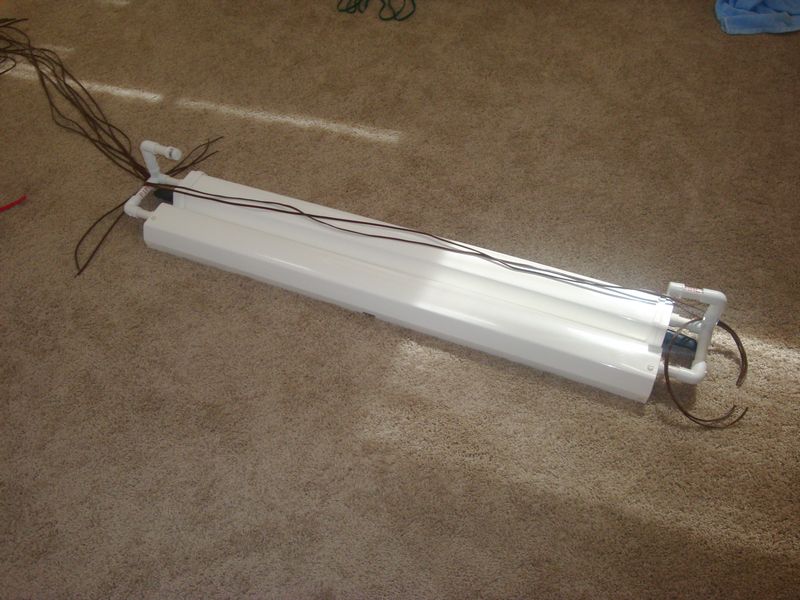
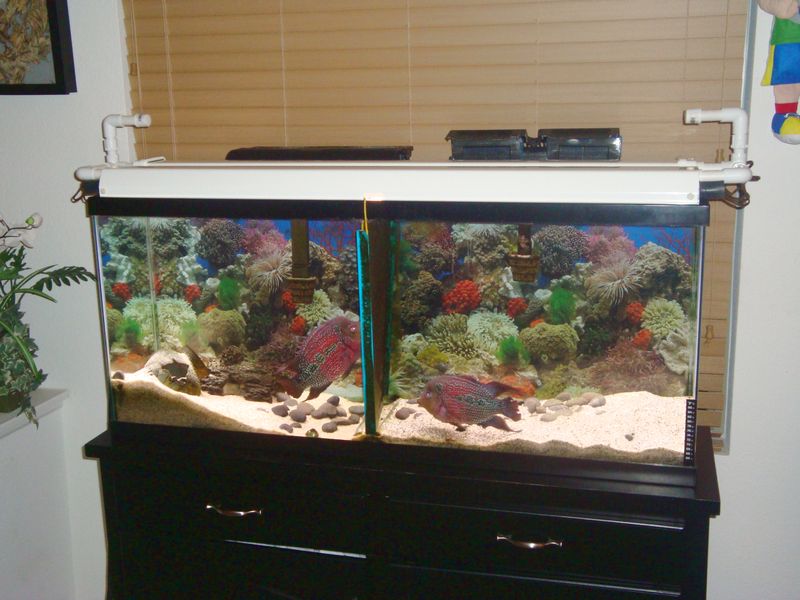
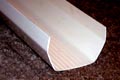
DIY Rain Gutter Aquarium HoodThis aquarium hood is made out of plastic rain gutter and 1/2" PVC pipe. The hood can hold up to four full length bulbs and the bulb connections are all waterproof (safe from splash but maybe not submersion). When the hood is open, there is lots of room to feed your fish and clean the tank. Wires are connected or soldered to the bulbs and strips of 3-inch bicycle inner tube cover the ends to make a waterproof seal. Holes are drilled in the appropriate places on the PVC fittings to run all the wires inside the PVC pipe to the opposite side and then back out to the remote ballast. The lights are controlled by timers. The aquarium shown is a standard 55 gallon aquarium. |
PRICE BREAKDOWN (prices are approximate)
|
 Click Image to Enlarge
The Tokumi design DIY aquarium hood uses standard Lowes rain gutters, and pvc pipe. It will contain 4 full length bulbs to really light this aquarium up. The front end opens up for feeding and cleaning. |
 Click Image to Enlarge
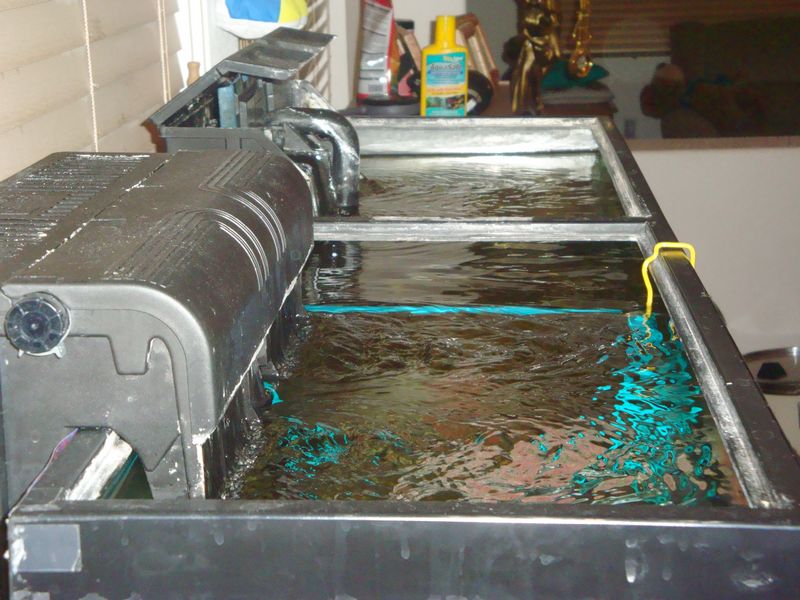
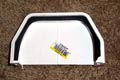
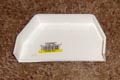
I had to get these different kinds of gutter ends (mounts inside the gutter instead of outside) to give myself more room to get the hood to fit. Its a tight squeeze with those big filters hanging off the back. | |
 Click Image to Enlarge
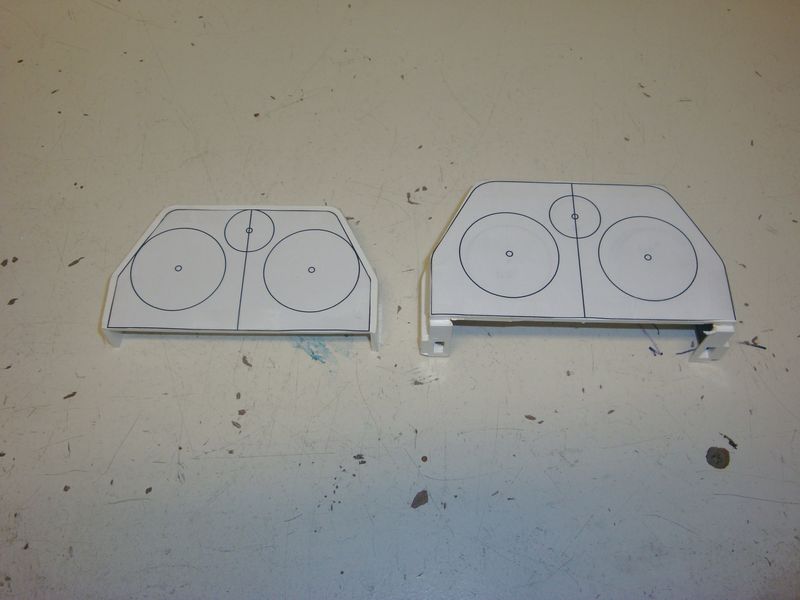
Drew up the gutter ends and drill holes in AutoCAD, lining up the holes for proper clearances. Printed and taped the paper to the gutter ends. Ready for drilling. |
 Click Image to Enlarge
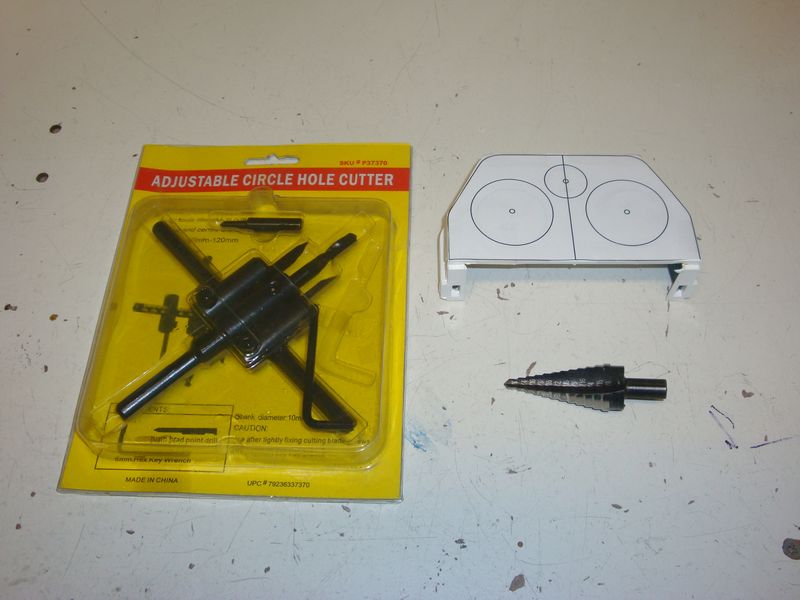
Drill bits to drill the large holes. | |
 Click Image to Enlarge
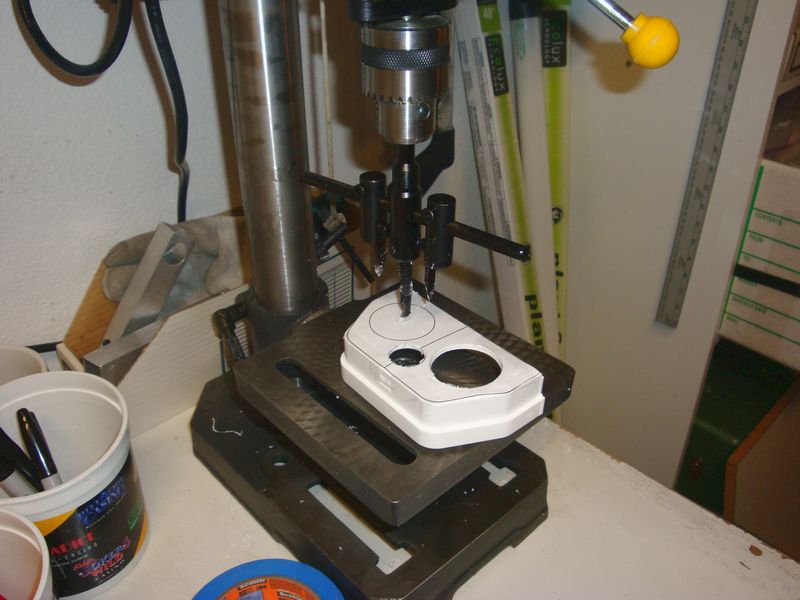
Going to work with the drill press. Drill press makes it easier but its not a necessity. Hand drill can work too. |
 Click Image to Enlarge
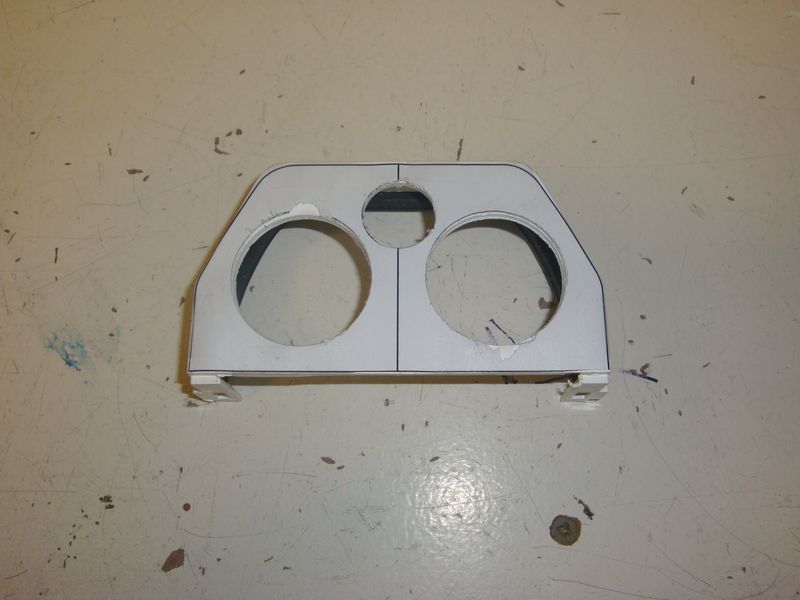
After drilling. | |
 Click Image to Enlarge
Test fit. It all works! Note the 2 styles of gutter ends used. The back one mounts on the outside of the gutter. The front one mounts on the inside of the gutter. The inside mount was necessary due to space constraints to provide adequate space for the filters. |
 Click Image to Enlarge
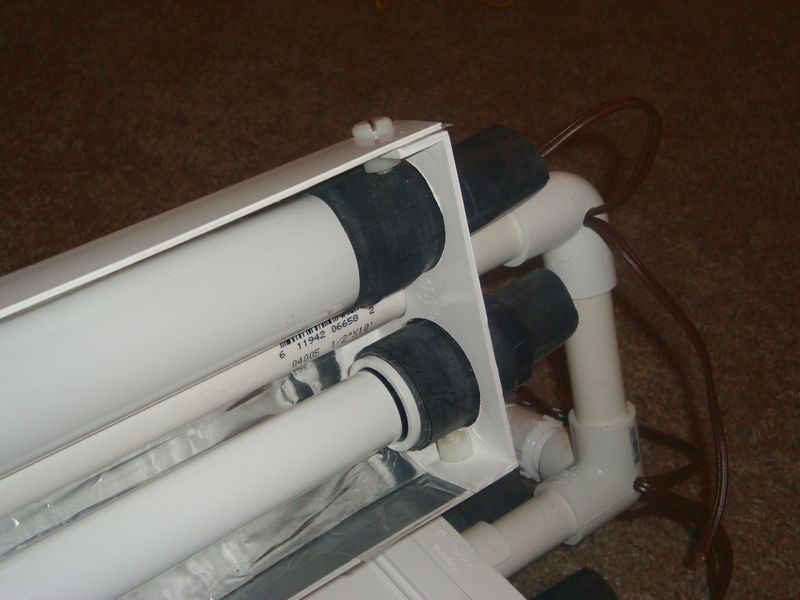
This is how the inside looks. Flourescent tubes will go in here. 2 bulbs in each gutter. | |
 Click Image to Enlarge
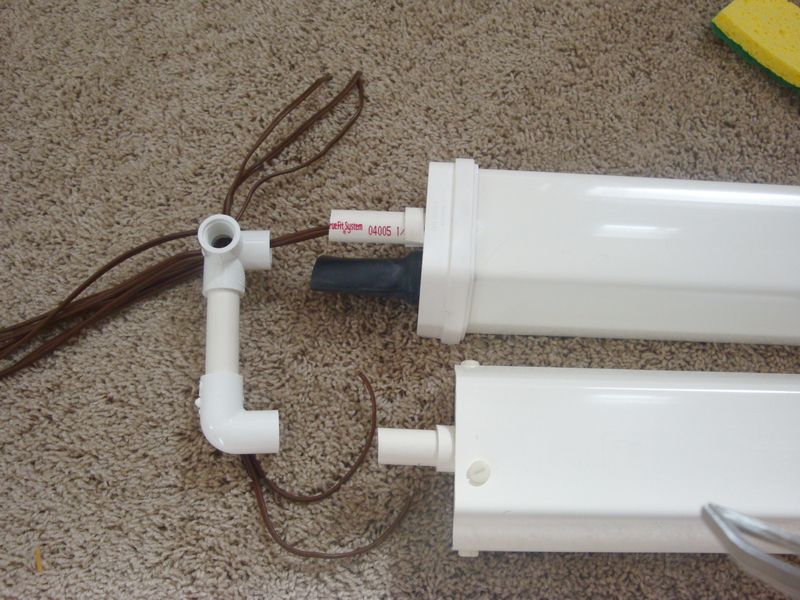
Time for electrical. Layout of wiring. |
 Click Image to Enlarge
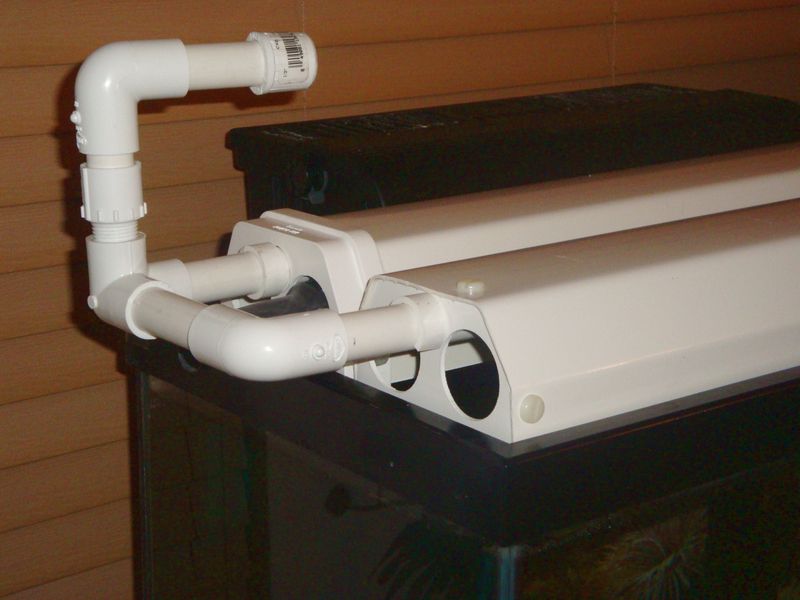
Layout of wiring through the pvc pipes. | |
 Rain Gutter Aquarium Hood
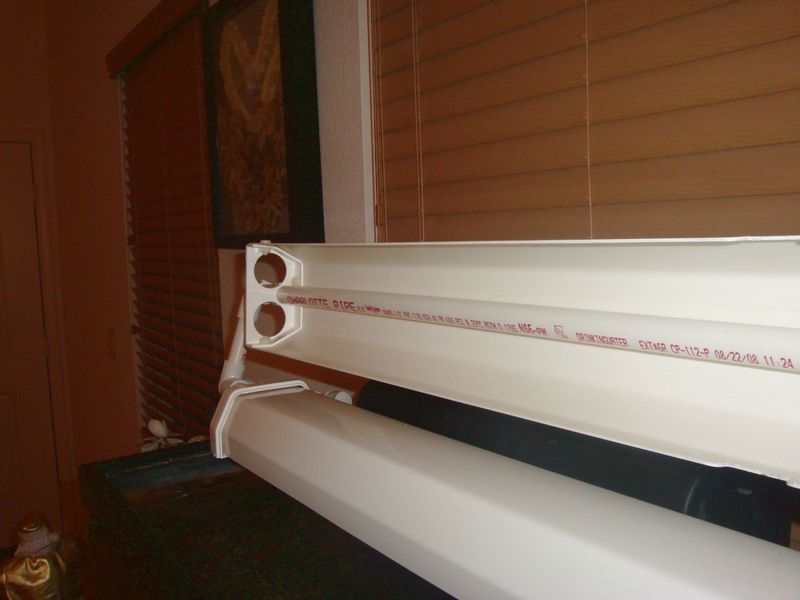
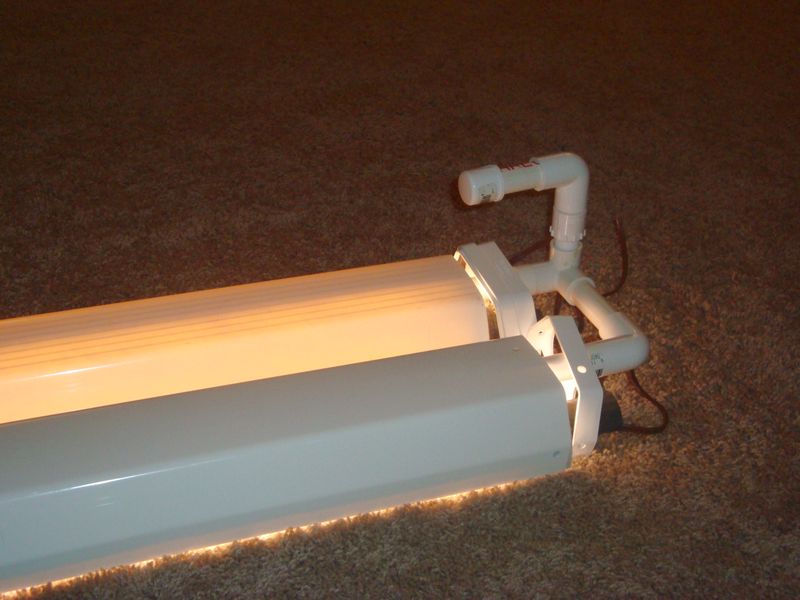
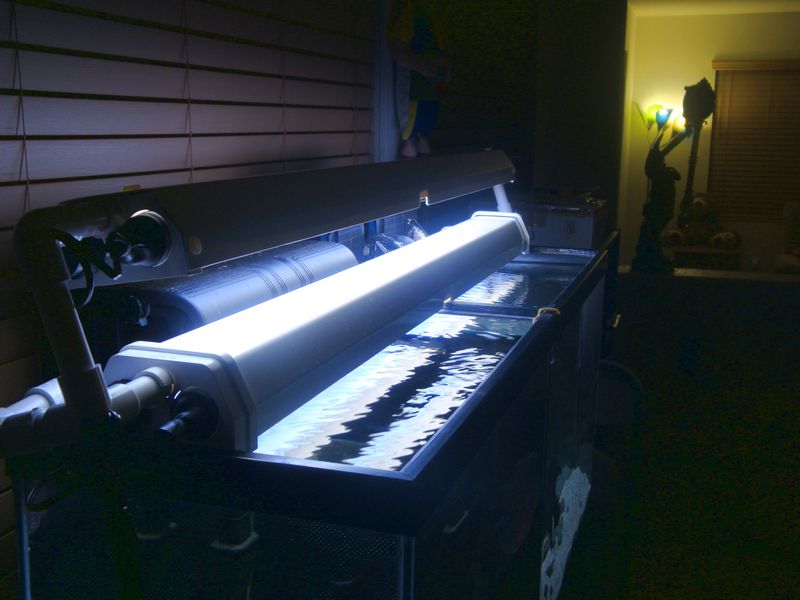
Test run of the lights. A little setback. Lights are so bright, it made the plastic gutters glow. Solution was to line the inside of the gutter with tin foil. The front gutter in this photo is already lined with foil, so you can see how the glow is eliminated. The back gutter still needs to be lined with foil. |
 Click Image to Enlarge
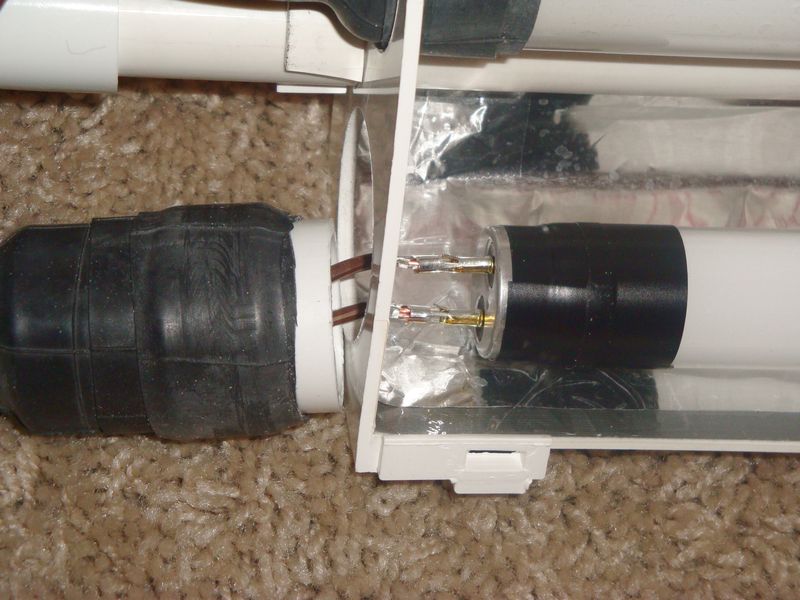
Standard r/c car Tamiya connectors can be used to connect the wire to the bulbs. They just happen to be the right size to be a perfect fit. | |
 Click Image to Enlarge
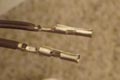
Bicycle inner tube slides over the ends of the bulbs for a nice waterproof connection. |
 Click Image to Enlarge
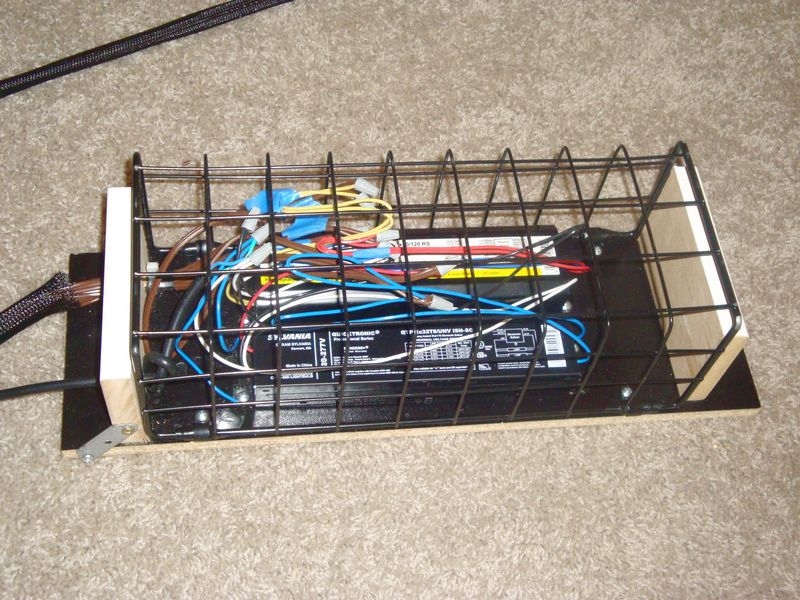
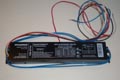
Remote flourescent ballasts in my little contraption. If you are an electrician, please let me know if this box is breaking code. I have a feeling it is not up to code, since its so open. I just used stuff that I had around the house. |
|
 Click Image to Enlarge
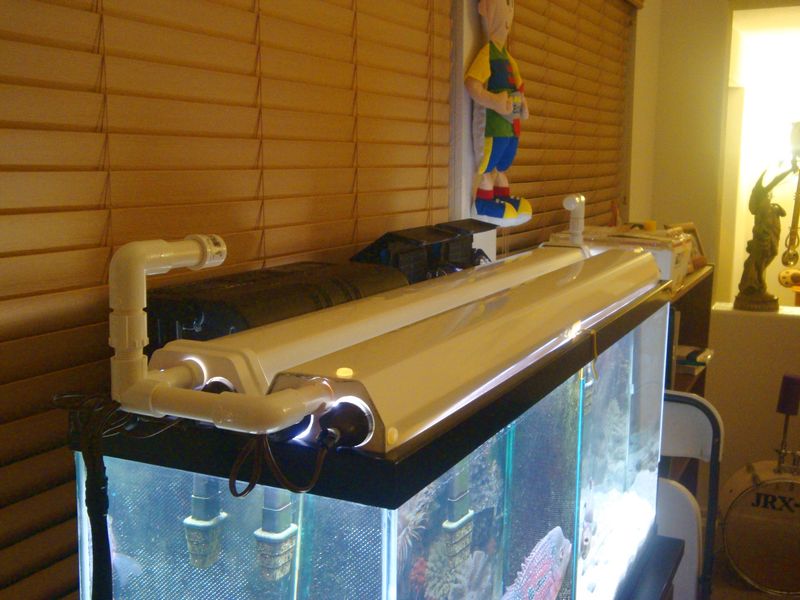
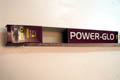
Final product. Closed position. Two PowerGlo 4-ft bulbs and two Lowes aquarium/plant 4-ft bulbs are used. |
 Click Image to Enlarge
Open position. Since gutters are hinged on the pvc pipe, the gutters always stay facing down and don't glare in your face when you are cleaning and feeding. | |
 Click Image to Enlarge
Flowerhorn Cichlid tank. Lala on the left and and Lulu on the right. |
| Item | Description | Quantity | Where to Buy | |
 |
Plastic Rain Gutter |
1 |
Amazon |
|
 |
Outside Gutter End Cap |
2 |
Amazon |
|
 |
Inside Gutter End Cap |
2 |
Amazon |
|
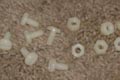 |
Nylon Nuts & Bolts |
6 |
Nylon Nut Nylon Screw |
|
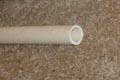 |
1/2" PVC Pipe |
1 | Lowes | |
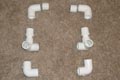 |
1/2" PVC Pipe Fittings |
4 2 2 2 |
Amazon Amazon / Lowes Amazon Amazon |
|
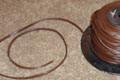 |
Lamp Cord |
~50-feet | Visit your Local Lowes or Home Depot. | |
 |
Bulb Connector |
8 pairs |
Amazon |
|
 |
Bulb |
T8 Flourescent Bulb Ballast |
1 |
Amazon |
 |
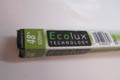
T8 Flourescent Bulbs |
2 |
Amazon |
|
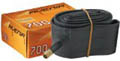 |
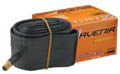
1.25" Bicycle Inner Tube |
1 |
Amazon |
|
Bulb |
T12 Flourescent Bulb Ballast |
1 |
Amazon |
|
 |
T12 Flourescent Bulbs |
2 |
Amazon |
|
 |
1.75" Bicycle Inner Tube |
1 |
Amazon |
|
| DIAGRAMS | ||||
| Hood Closed | Hood Open | |||
 |
Be sure to have enough space in the back for your filters click here |
PLAN VIEW | You have lots of room here to work in your aquarium with hood open. click here |
 |
 |
click here | FRONT VIEW | Bulbs don't glare in your face with hood open. click here |
 |
 |
See larger picture. click here |
LEFT VIEW |
Weight of bulb keeps them facing down when the hood is open. click here |
 |
 |
click here | ISOMETRIC VIEW | click here |  |
 |
Drill large holes in the gutter ends with a circle saw for the 2 bulbs and the 1/2" PVC. Use a short piece of 3/4" PVC (red) as a brace to keep the gutters from sliding around on the 1/2" pipes. click here |
CLOSEUP | Drill holes in PVC fittings as required to route wires in and out of the PVC fittings. Solder wires to bulbs or use some other kind of connector. Larger picture contains component labels. click here |
 |
 |
Wires route through the 1/2" PVC pipes to the opposite end of the hood. Use 2 timers to get a sunrise / sunset effect. click here |
CLOSEUP (left) BOTTOM VIEW (right) |
Hood can hold up to 4 bulbs as shown here. Line the inside to the hood with foil to help ground the bulbs. click here |
 |